Craft Your Own Miniature Plant Stand With This DIY Guide

Texas Real Estate Agents, Austin Realtors, Central Texas Real Estate, Texas Real Estate Companies, Austin Real Estate Companies, Texas Real Estate Broker

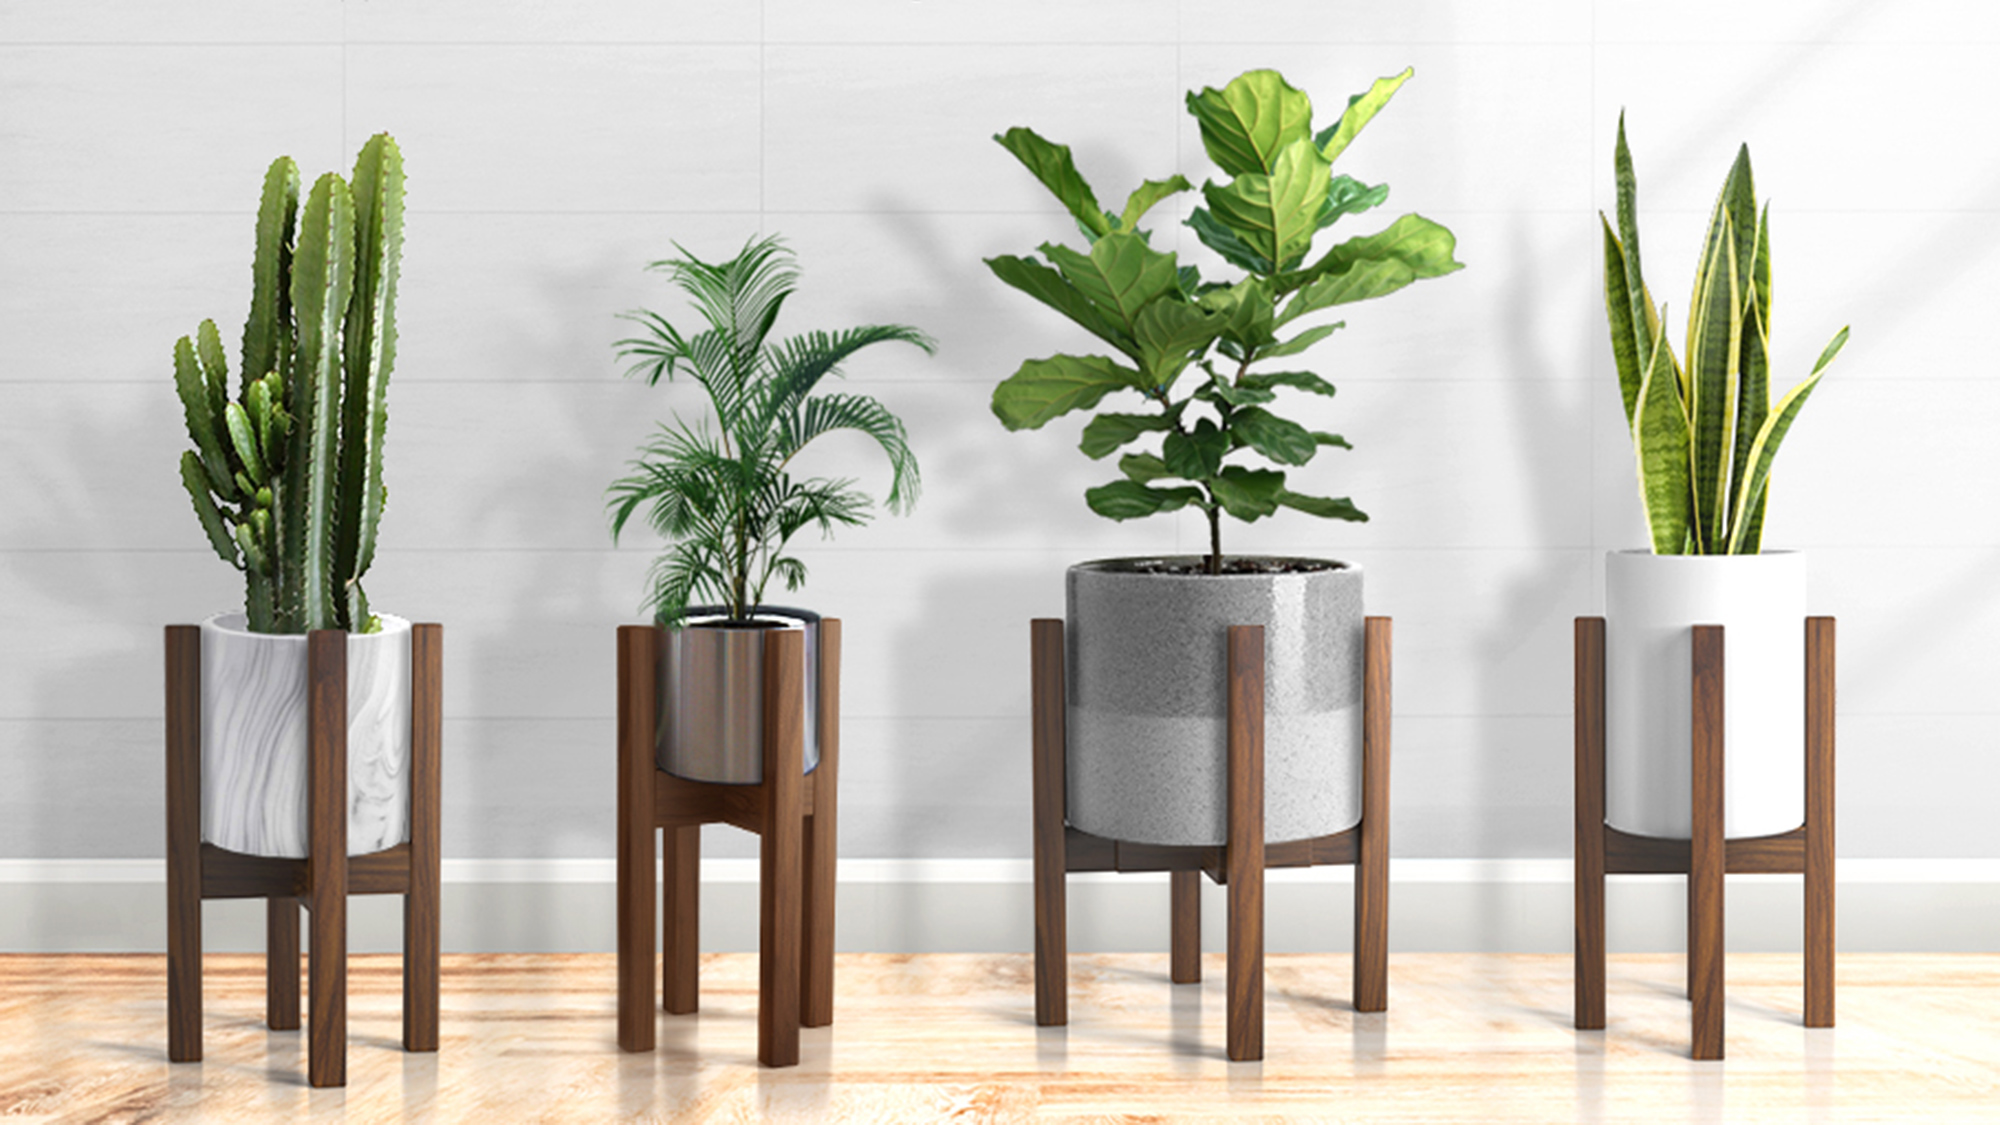
Adding height variation to your plant collection can enhance the entire look of the collection. Even if you have your potted plants on a shelf, table or other surface off of the floor, some plants definitely benefit from sitting up higher. There are plenty of tabletop plant stands available on the market but they’re also easy to build yourself. Here are the materials and steps needed to make your very own miniature plant stands.

Materials & Tools

Square wood dowel
Dowel pins
Wood glue
Wood stain
Sealer
Rag
Plant pot
Measuring tape
Hand saw
Drill & drill bit
Sandpaper or power sander
Clamps

Process

  1. The very first thing you need to do is measure the diameter of the pot you want to use in the stand. If it’s a tapered or round shape, measure both the bottom and the widest point (whether at the top or in the middle).
  2. Measure and cut the wood dowel so that you have 4 “legs.” For the crosspieces, you’ll need one long piece and two smaller pieces to make the cross.
  3. Mark where the drill holes will go. Add drill holes to the center and either end of the crosspieces and into the middle of each side support. Make the holes approximately 1/2 inch deep.
  4. Use glue and dowels to connect the crosspieces. Add a bit of glue to the end of the dowel and fit it into each hole, clamping the pieces together to make sure it’s a firm fit. Once connected, you should have an X shape.
  5. Now add dowels into each end of the cross and secure them with glue. Attach the leg pieces by fitting the dowels into the holes you drilled in the center of each support. Use the clamp to hold everything steady while gluing.
  6. Make sure the glue is dry and check for any sign of wobbling. If you have some slight unevenness in the legs you can sand down the longest one or more to even them out. If there is a dramatic difference, you may need a hand or hack saw to correct it.
  7. Sand all the surfaces thoroughly to prepare for the stain or paint you want to use. Scrape off any extra dried glue you find, since it won’t take the stain or paint.
  8. Once you’re finished sanding and prepping, paint the visible surfaces and add a coat of seal afterward.
  9. Grab your plant pot and test out the stand. Check again for any signs of unevenness or wobbling and adjust accordingly. Experiment to find the best looking spot for your new tabletop plant stand to complement the plant itself as well as offer it the maximum light and air flow.
Homeowners Can Save Big With DIY Kitchen Island Innovations

If the cost of renovations holds you back from realizing your desired living space, strategic do-it-yourself projects can save money and accelerate the process.

It’s essential to understand that not every handy homeowner possesses the DIY skills to orchestrate a complete makeover. However, basic understanding of how to measure and use tools allow everyday people to make substantial living space improvements. In fact, more than a few motivated people can create a DIY kitchen island. Given that the meal preparation area ranks among the more expensive to upgrade, a DIY kitchen island can be a game-changer in terms of enjoyment and investment.

Popular DIY Kitchen Island Innovations

The kitchen has more foot traffic than any room in the household and that’s why many consider it the heart of the home. Perhaps the most dramatic change involves adding a DIY kitchen island. This asset allows family chefs expansive food preparation space and a place for friends and family members to gather over small meals and beverages. The following DIY kitchen island innovations illustrate ways you can save big while enhancing your home.

  • Farm Style Center Islands: One surprising innovation involves taking an outdated table or workbench and refurbishing it. Antiques often utilize sturdy hardwoods that can be sanded down, stained, and coated for kitchen use and fixed in place. These furniture items are usually created at the precise height of a modern center island and can be picked up at tag sales or junk stores for pennies on the dollar.
  • Dresser Updates: Like farm tables, a beat-up old dresser can form a DIY kitchen island’s foundation. Identify a piece of furniture that meets your desired height requirement. For instance, dressers of about 42 inches may accommodate bar stool seating. You can remove the top and craft a replacement that extends off one side for a seating countertop. It’s also perfectly acceptable to attach a more expansive countertop over the existing one. Given that repurposed furniture is inexpensive, you’re only paying retail for the countertop materials.
  • Rustic Built-It-Yourself: A DIY kitchen island does not necessarily require you to purchase a manufactured product. Fashioning a kitchen island remains remarkably similar to building a make-shift table or cabinet. Consider downloading basic table-making or cabinet plans and crafting one from lumber. Given that most homeowners are not finished carpenters, rustic designs and appearance can simplify the project.
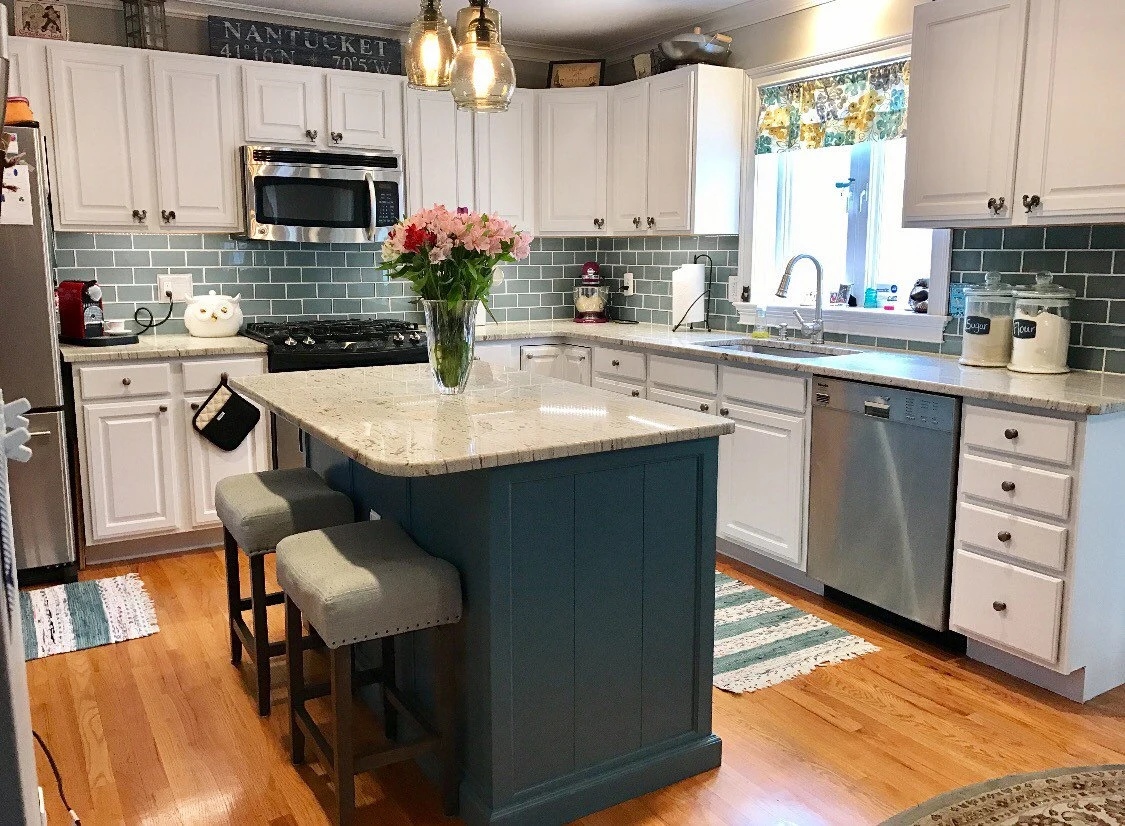
  • Value of Shiplap: These interlocking boards rank among the more cost-effective home siding materials on the market. They are easy to manage and ideal for the exterior of a DIY kitchen island. This wood material can be installed on three sides of an island, leaving one side available for storage shelving. Shiplap provides aesthetically pleasing lines and can be painted or stained to suit. That makes it a cost-effective material to employ in a DIY kitchen island innovation.

Working families on strict budgets do not necessarily need to build up home improvement savings or leverage equity to enhance their living environment. By thinking outside the box and putting your creative spirit to work, it’s possible to make these DIY kitchen island innovations a reality.